Events
An event is anything people sign up for: a camp, retreat, VBS week, or class. Each event has its own form, pricing, registrants, and settings.
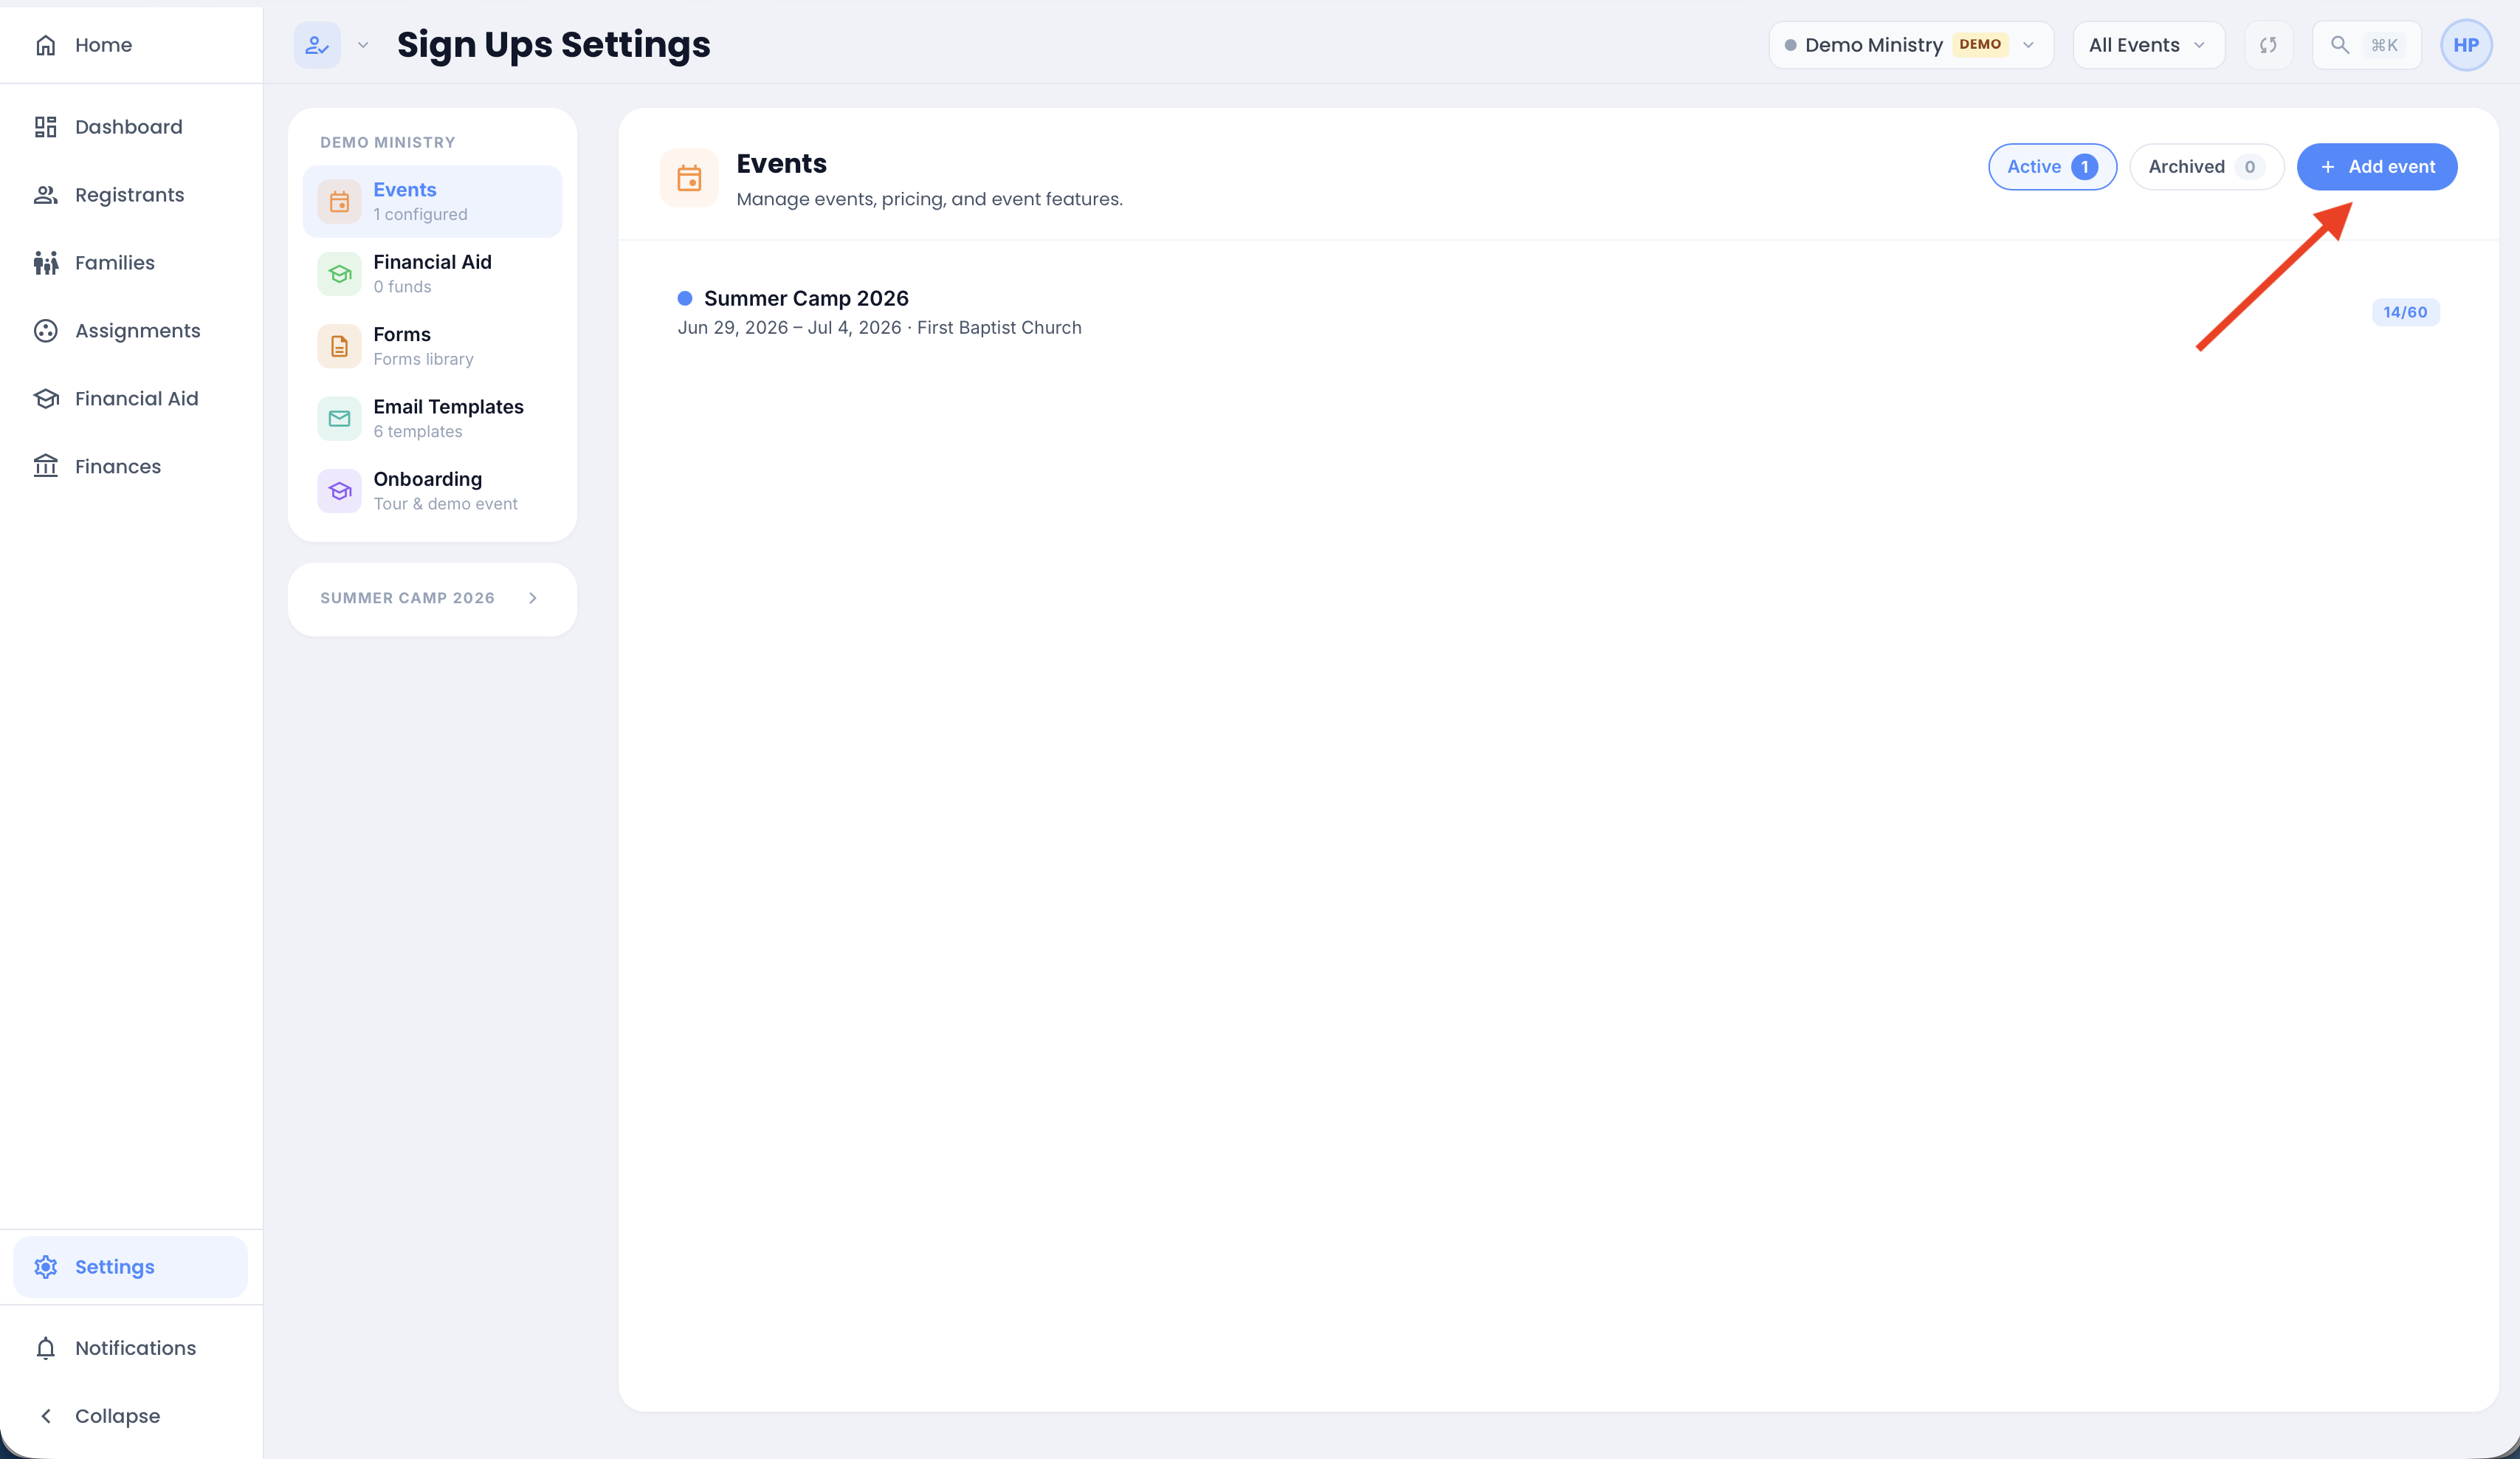
Creating an event
- Go to Sign Ups → Settings → Events.
- Click Add Event. The creation wizard walks you through up to three steps.
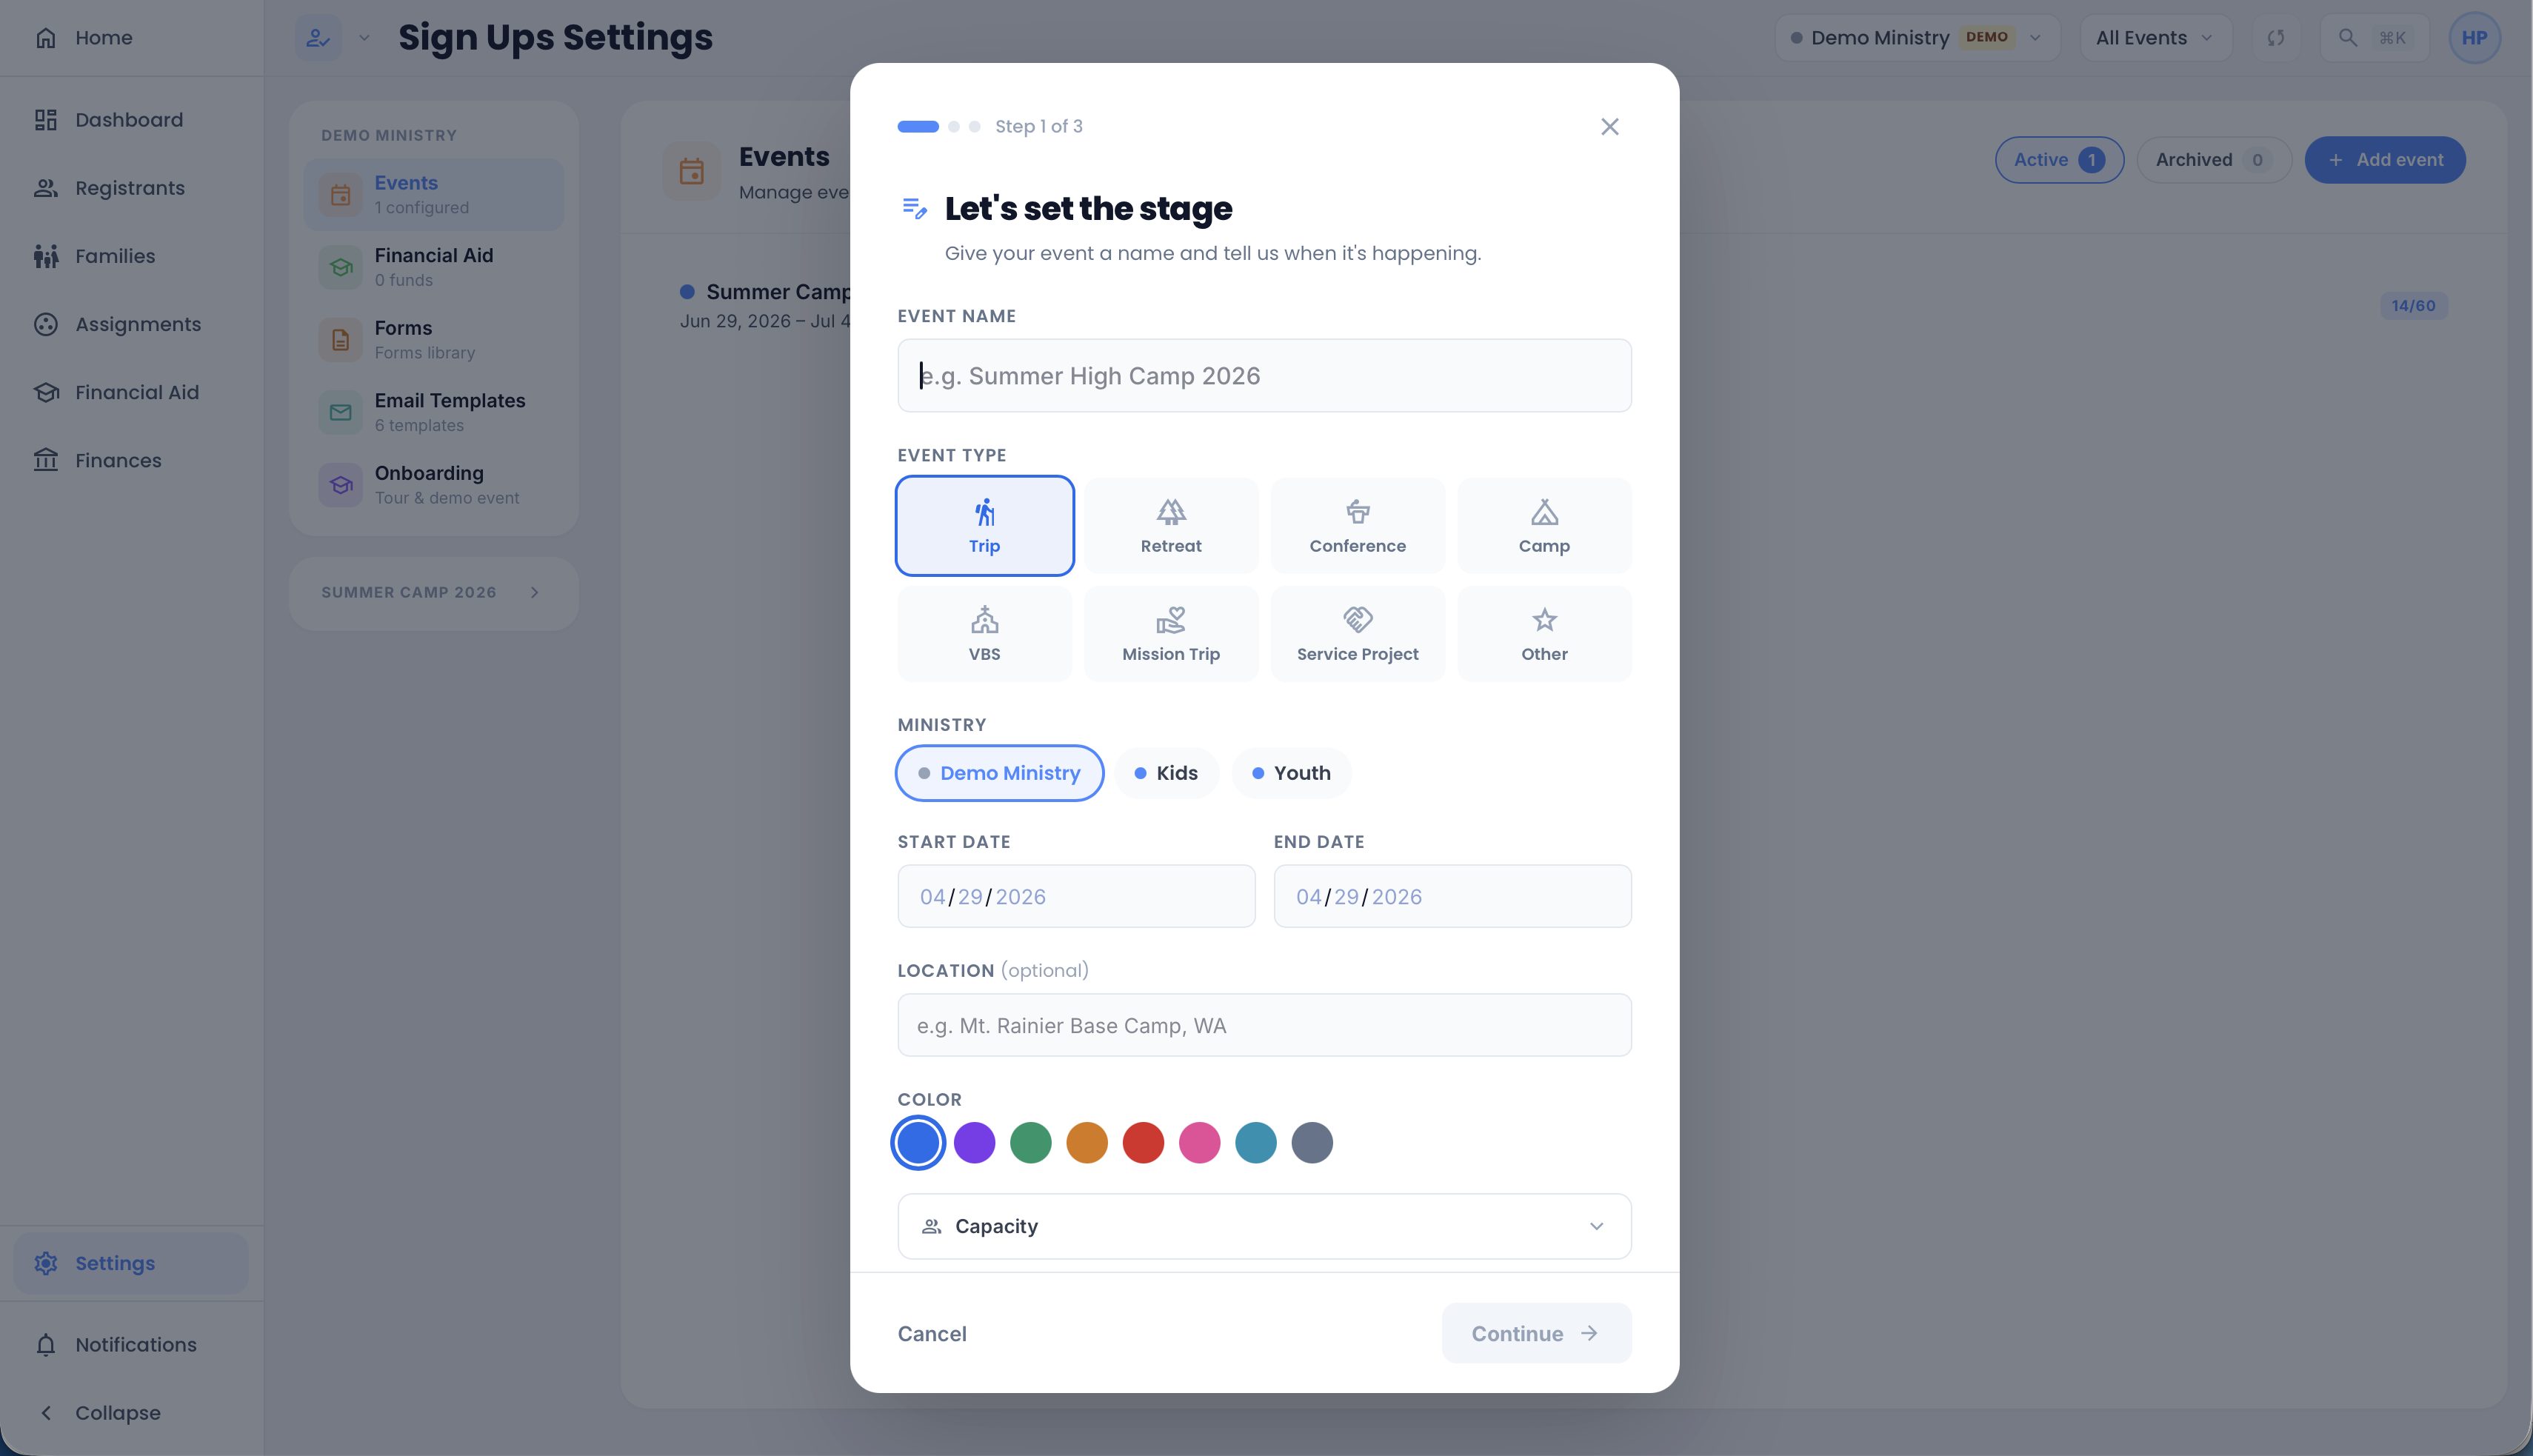
Step 1: Details
- Event name is what families see on the registration page.
- Start and end dates are required.
- Ministry assigns the event to a ministry so the right leaders can see and manage it.
- Capacity (collapsible) sets the total number of participant spots. Optionally turn on Gender Breakdown to split capacity into male and female spots; the two must add up to the total or less.
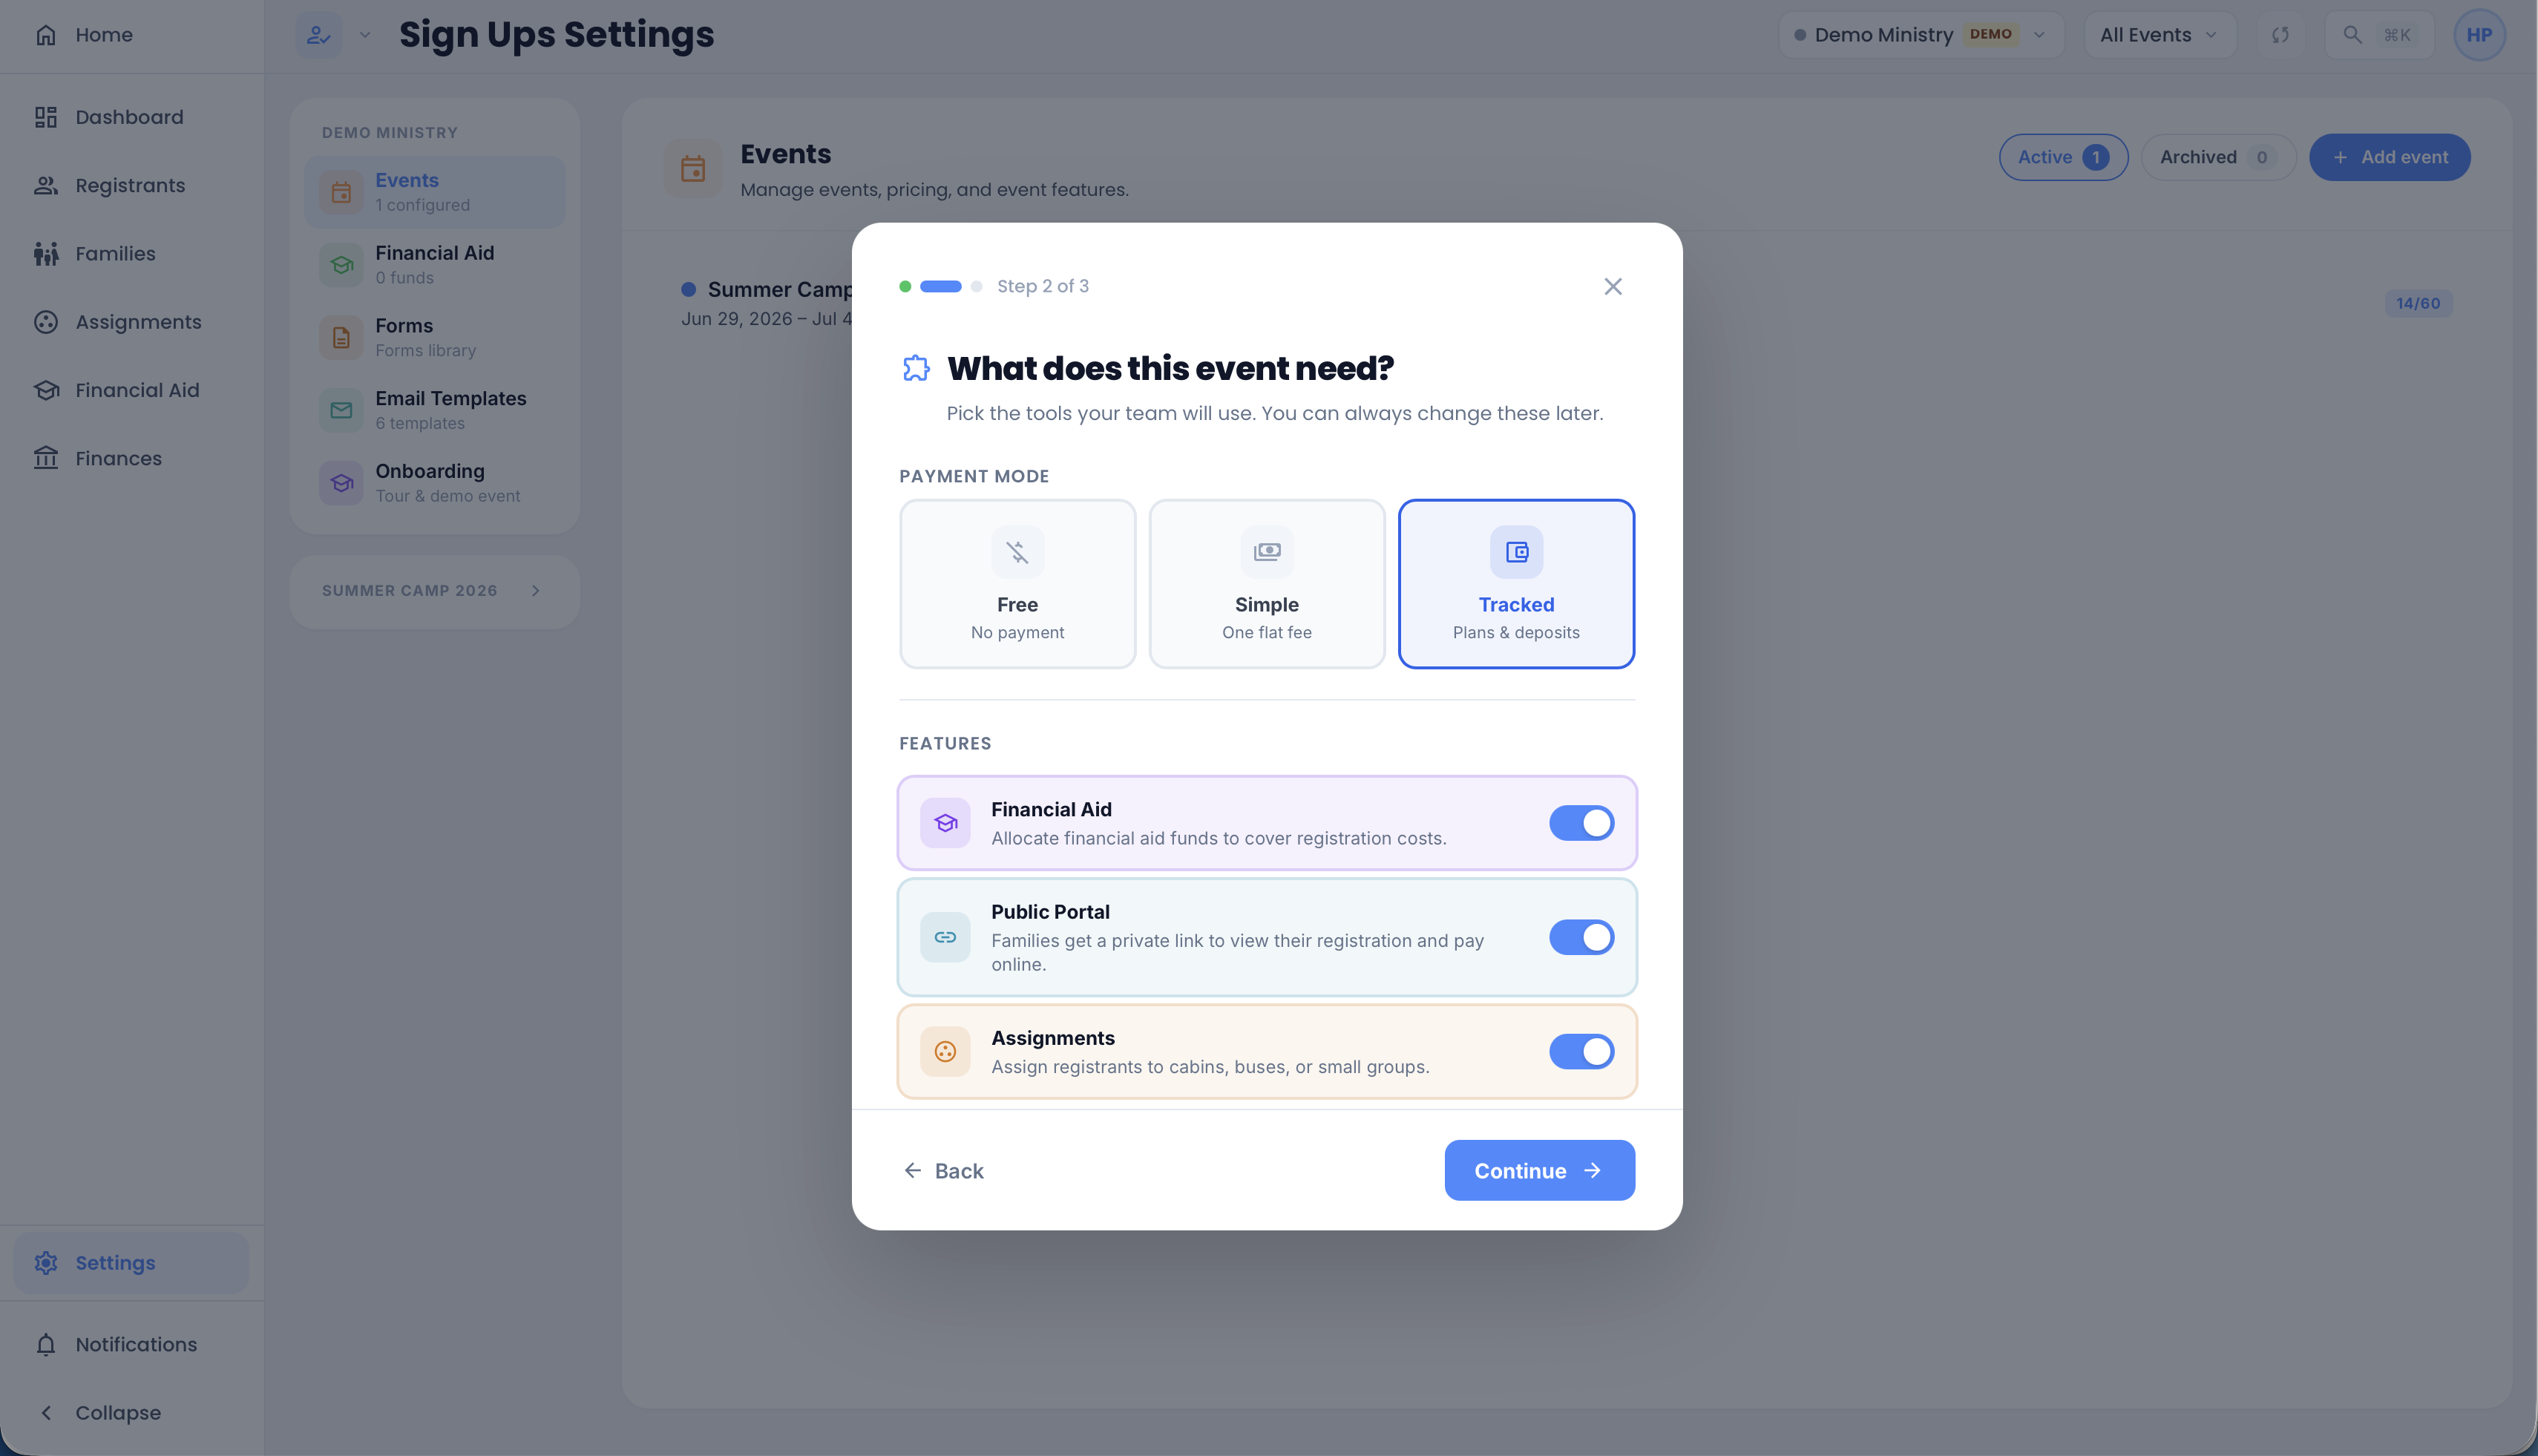
Step 2: Features
This step has two parts: choosing a payment mode, and toggling on optional features.
Payment mode (required) determines how money is handled:
- Free. No payment required. Used for events without a registration cost.
- Simple. One flat fee per registrant. Cleanest setup when there's a single price.
- Tracked. Multiple pricing tiers, deposits, and payment due dates. Use this for camps and retreats where you collect over time.
Features are optional add-ons. Available options depend on the payment mode you picked:
- Public Portal gives families a private link to view their registration and pay online. Requires a payment mode (any non-free).
- Assignments lets you assign registrants to cabins, buses, or small groups. Available for any event.
- Financial Aid lets families apply for help covering the cost. Available only when payment mode is Tracked.
You can change these later under the event's settings.
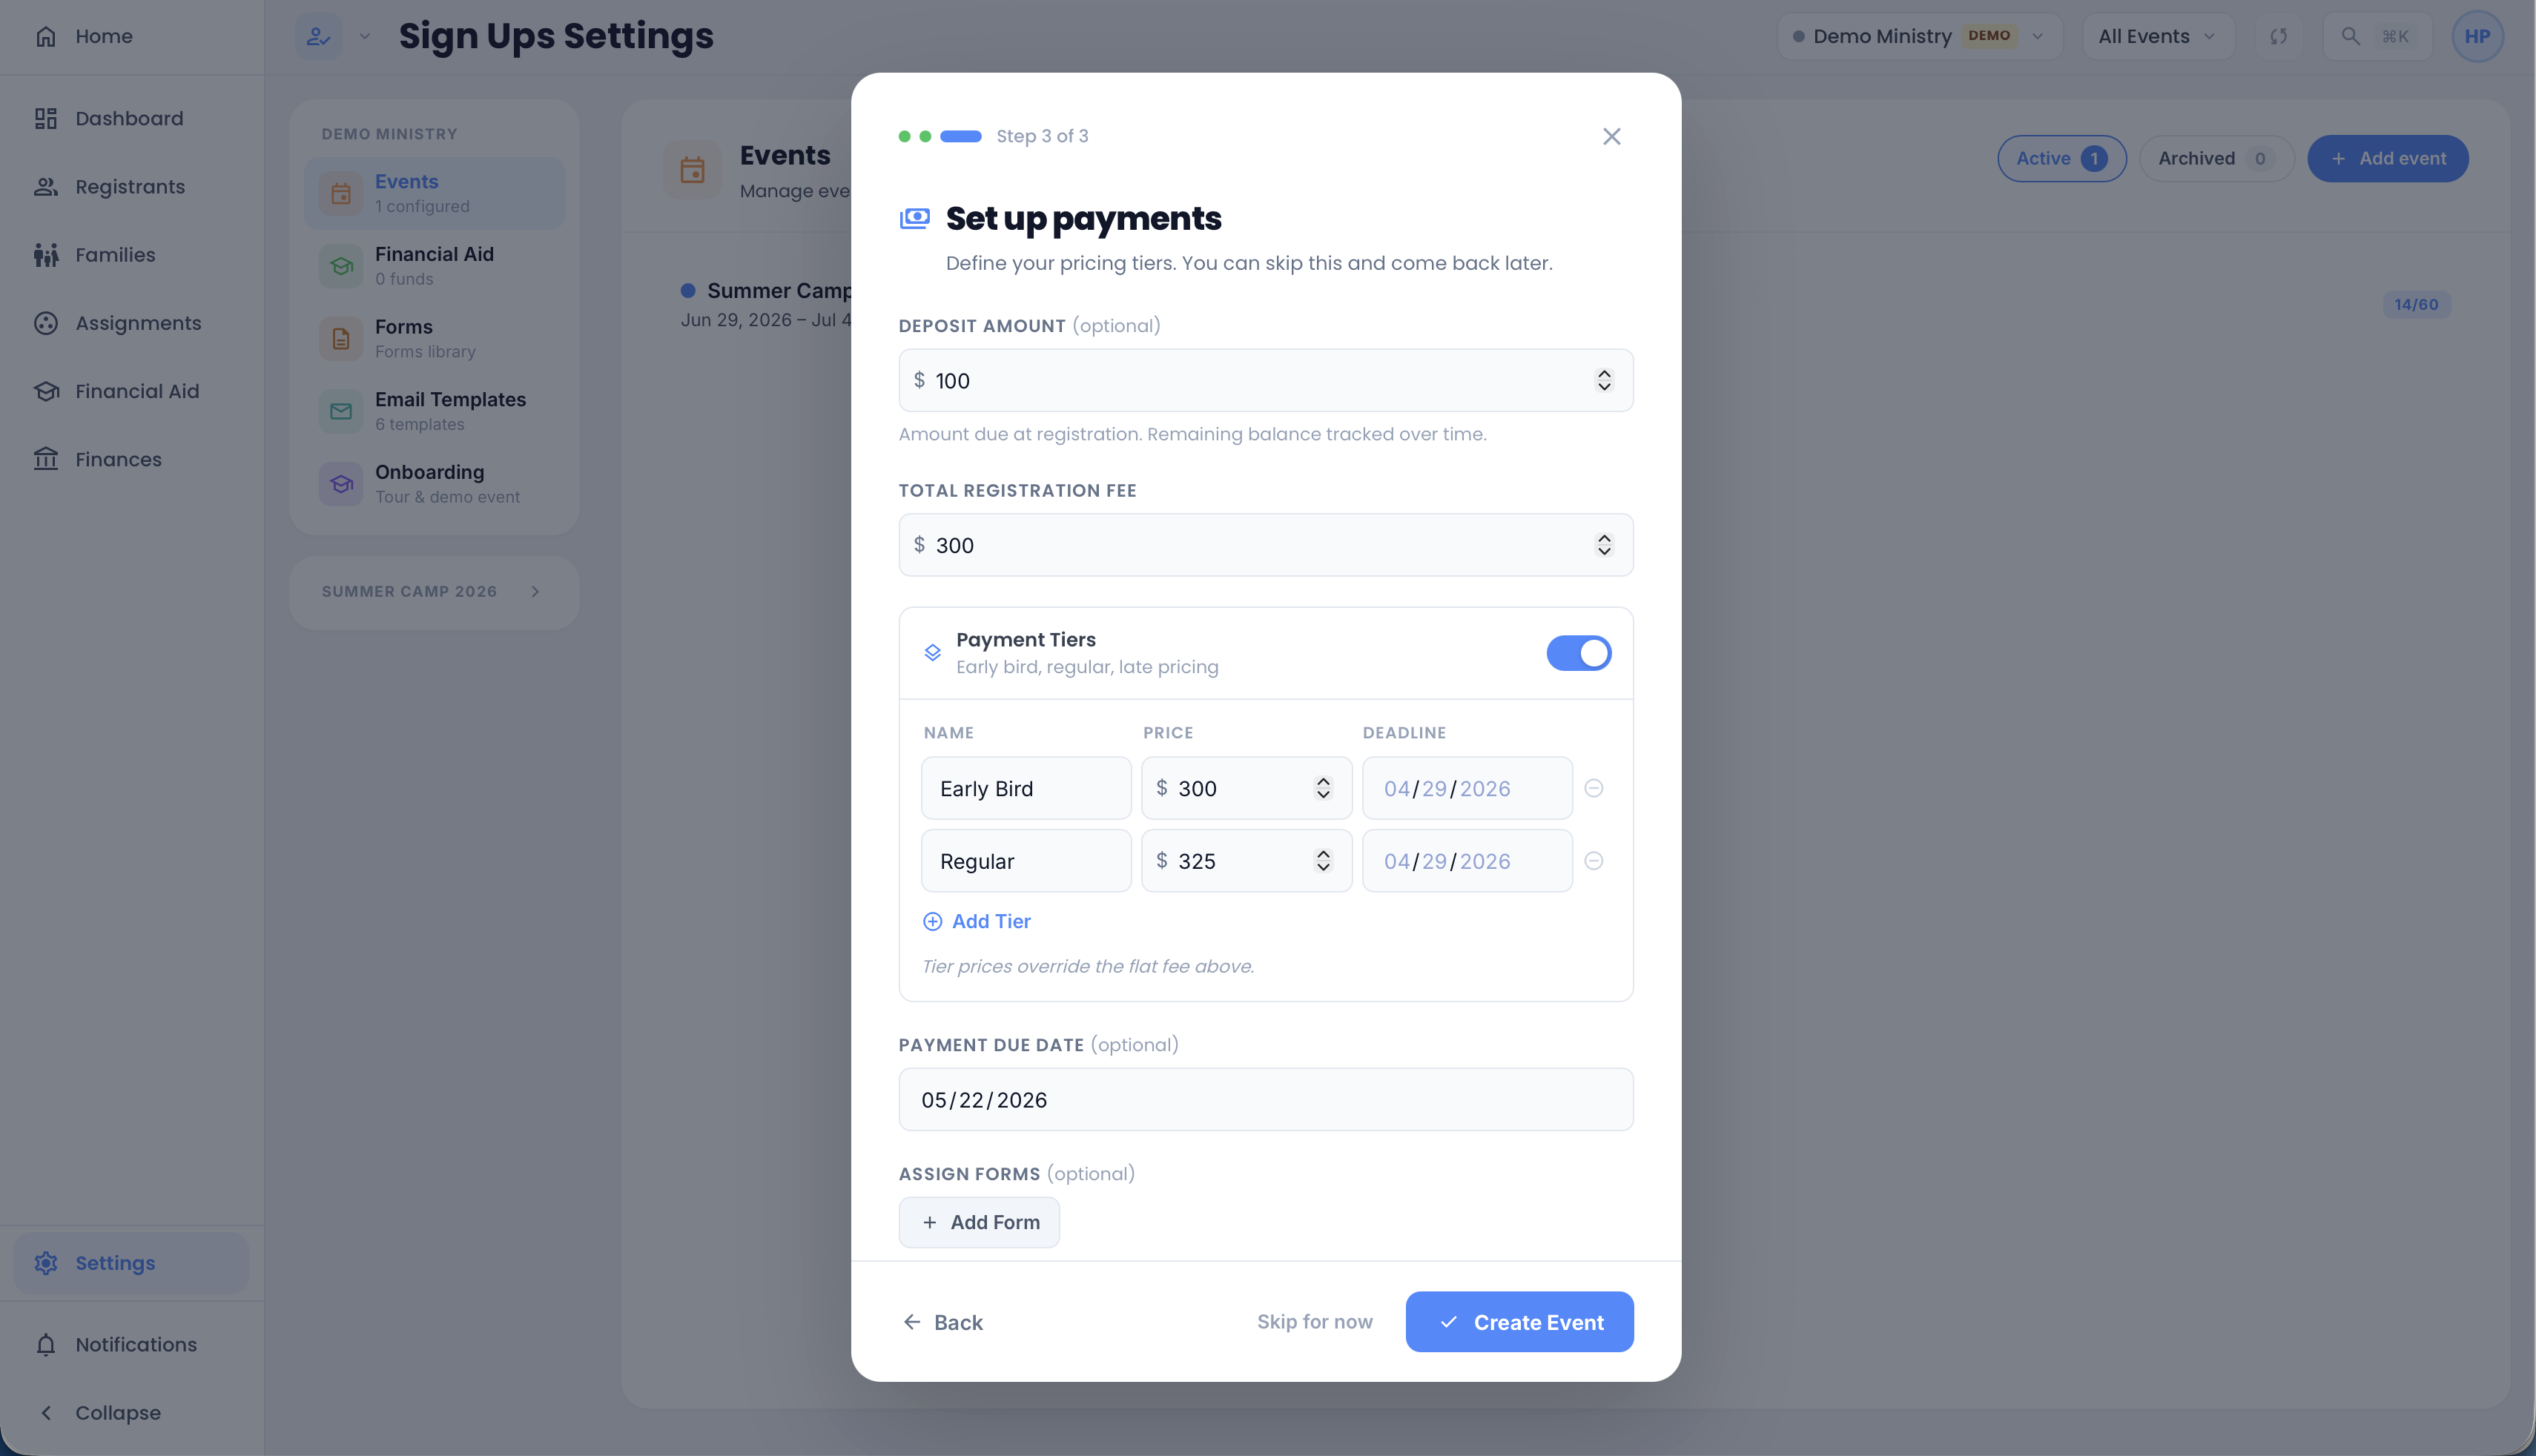
Step 3: Payments
Step 3 only appears if you chose Simple or Tracked in step 2. Free events skip this step.
Simple mode:
- Registration Fee is the single flat amount, collected once at registration. No balance tracking.
Tracked mode:
- Deposit Amount (optional). The amount due at registration, with the rest tracked as a balance over time.
- Total Registration Fee is the full per-registrant cost.
- Payment Tiers (optional toggle). Turn on for early bird / regular / late pricing. Each tier has a name, a price, and a deadline date. Tier prices override the flat fee above.
- Payment Due Date (optional). When the remaining balance is expected.
You can also assign forms to the event from this step if any forms exist in your workspace.
You can skip step 3 entirely and come back later from the event's settings.
Editing an event
Go to Settings → Events, click an event, and edit any field. Changes apply immediately, including to in-progress registrations.
Changing pricing on a live event affects only future registrations. Existing registrants keep the price they originally signed up at.
Archiving an event
When an event is over, archive it from its settings to hide it from the event picker without deleting any data. You can unarchive at any time.
Duplicating an event
To run the same event next year, open the event in Settings and use Duplicate. This copies the form, pricing, and feature flags, but creates a fresh roster.
Related
- Forms and Payments for setting up form questions and pricing tiers
- Registrants for managing the roster after registrations come in
- Settings for workspace-level Sign Ups configuration